Quick Facts
- Recommended Capacity: 16GB minimum for Windows 10; 32GB strongly recommended for Windows 11.
- Data Warning: Creating this drive will permanently erase all existing files on your USB stick.
- Maintenance Frequency: Microsoft and experts recommend a fresh recreation once per year.
- Success Rate: Highly effective at resolving the 40% of data loss incidents caused by logical errors.
- Emergency Utility: Provides immediate access to the Windows Recovery Environment even when the OS won't boot.
- Cost: Typically under $15 for a high-quality USB 3.1 flash drive.
To create a windows recovery drive, connect a usb flash drive with at least 16 GB of storage. Search for Create a recovery drive in the Start menu, check the option to back up system files, and follow the prompts to format the drive. This process erases all existing data on the USB stick, so ensure it is empty before starting.
There is a specific kind of sinking feeling that only a PC enthusiast truly understands: pressing the power button and being met with a "No Bootable Device" error or the dreaded Blue Screen of Death. As a hardware editor, I have seen these scenarios play out thousands of times. While we often obsess over the latest GPUs or NVMe speeds, the most important tool in your tech arsenal isn't a benchmark utility—it is a windows recovery drive.
A windows recovery drive acts as a life raft for your operating system. It provides a specialized bootable environment known as the Windows Recovery Environment or WinRE. When your internal storage encounters a logical hiccup or a system update goes sideways, this usb system repair tool allows you to bypass the broken OS and access powerful repair utilities. Despite its importance, a recent survey found that while 78% of people claim to back up data, only 33% perform these backups on a regular basis. This guide ensures you are in that prepared minority.
Prerequisites and Preparation
Before we dive into the creation process, we need to talk about hardware. Not all USB sticks are created equal, and for this task, reliability is more important than raw speed. You need a drive that can sit in a drawer for a year and still function perfectly when an emergency strikes.
The first thing to consider is the usb flash drive capacity for windows recovery media. While Windows 10 technically allows for 16GB drives, the reality of modern updates means that a USB drive with a minimum capacity of 32 GB is now the standard requirement for Windows 11 systems. This extra space is necessary because we aren't just creating a bootable tool; we are backing up essential system files that allow for a full reinstallation of Windows if the local recovery partition on your SSD becomes corrupted.
It is also vital to understand the windows recovery drive vs system image backup distinction. A recovery drive is a functional toolkit. It contains the OS installer and repair tools like Startup Repair. However, it does not contain your personal photos, documents, or games. If you use this drive to "Recover from a drive," your PC will return to a clean, factory-fresh state. For your personal data, you still need a separate cloud backup or external hard drive.
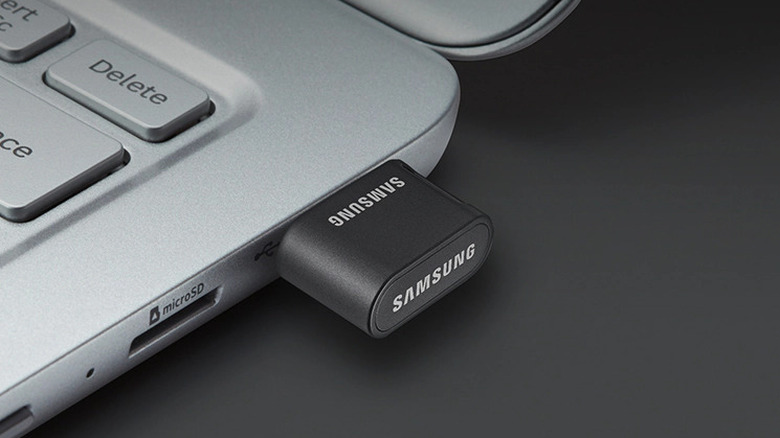
One final hardware note: if you are using a modern thin-and-light laptop, you likely only have USB-C ports. Ensure your recovery media matches your port type or that you have a reliable adapter tucked away with the drive. Nothing is more frustrating than having a repair tool you can't actually plug in.
How to Create a Windows Recovery Drive Step by Step
Creating this emergency boot media is a straightforward process, but it requires patience. Depending on the speed of your USB port and the complexity of your system files, it can take anywhere from 20 minutes to over an hour.
- Prepare the Drive: Insert your USB flash drive. Ensure any important files on it are moved elsewhere, as the process involves formatting USB partitions, which wipes everything.
- Launch the Creator: Click the Start button and type "Recovery Drive." Select the "Create a recovery drive" app from the results. You will likely see a User Account Control prompt asking for administrator permission; click Yes.
- Include System Files: On the first screen, you will see a checkbox labeled "Back up system files to the recovery drive." This is arguably the most important step. Keeping this checked ensures that you can reinstall Windows even if your hard drive fails completely. Click Next.
- Select the USB Drive: Windows will scan your system for compatible drives. Select your USB stick from the list. If you don't see it, try a different port. Click Next.
- Final Warning: Windows will remind you that everything on the drive will be deleted. Once you are certain, click Create.
- The Waiting Game: The utility will now format the drive and copy the necessary files. This is a good time to grab a coffee. Do not unplug the drive or shut down your PC during this phase.
- Finish and Label: Once the drive is ready, click Finish. Eject the drive safely.
I strongly recommend physically labeling this drive with the date and the specific PC it was created for. In my workshop, I use a simple piece of masking tape and a marker. Knowing that a drive is your PC maintenance schedule tool for your "Gaming Rig 2026" saves a lot of headache later on.
Using the Drive to Troubleshoot Windows Startup Issues
Now, let's look at the scenario where you actually need to use this tool. If your computer isn't loading Windows, you need to tell the hardware to look at the USB drive before it looks at the internal SSD.
This requires entering your BIOS/UEFI firmware settings. For most systems, this involves tapping a specific key (usually F2, F12, or Del) immediately after pressing the power button. Once inside, you must adjust the boot sequence configuration so that "USB Storage" or your specific drive name is at the top of the list. Save these changes and exit.
Once the PC boots from the drive, you will choose your keyboard layout and be presented with the Advanced startup options menu. From here, you have several paths to fix windows startup problems with a recovery drive:
- Startup Repair: This is the "easy button." It automatically scans for common issues like missing system files or corrupted boot configurations.
- System Restore: If you have restore points saved on your local drive, you can roll the system back to a time when it was working.
- Command Prompt: For the power users, this allows for manual intervention using Bootrec commands.
Essential Bootrec Commands
If Startup Repair fails, the Command Prompt is your best friend. Use the following table to understand which command to use for specific issues:
| Command | When to Use |
|---|---|
| bootrec /FixMbr | Use this if the Master Boot Record is corrupted. High success for "Disk Read Error" prompts. |
| bootrec /FixBoot | Writes a new boot sector to the system partition. Essential for fixing "Bootmgr is missing" errors. |
| bootrec /RebuildBcd | Completely rebuilds the Boot Configuration Data. Use this if the OS isn't even being detected. |
Maintenance and Troubleshooting Common Errors
Even the best-laid plans can hit a snag. Occasionally, you might encounter the windows was unable to create the recovery drive error. In my experience, this is usually caused by one of three things: a faulty USB drive, a background antivirus program interfering with the formatting process, or corrupted local system files. If you hit this wall, try disabling your third-party antivirus temporarily or running the "sfc /scannow" command in an elevated Command Prompt to repair your local system files before trying again.
How often to update windows recovery drive? This is a question I get asked a lot. Because Windows 11 receives major feature updates and security patches frequently, a recovery drive created three years ago may struggle to repair a modern version of the OS. I suggest making it part of your annual digital spring cleaning. When you update the drive, you ensure it contains the latest drivers for your hardware, which is critical if you are using newer NVMe controllers or specialized Wi-Fi 7 cards.
By keeping a fresh windows recovery drive on hand, you are essentially buying insurance for your productivity. Logical errors might cause 40% of data loss, but with the right boot from usb recovery drive on windows 11 laptop, those errors become minor speed bumps rather than total roadblocks.
FAQ
What is a Windows recovery drive used for?
A recovery drive is a bootable USB tool that allows you to access the Windows Recovery Environment. It is used to troubleshoot and fix startup issues, perform system restores, and, if necessary, completely reinstall Windows from scratch if the operating system becomes unbootable or corrupted.
Does a recovery drive delete everything on the USB?
Yes, the creation process requires the utility to format the USB drive. This means every existing file, partition, and piece of data on that specific USB stick will be permanently erased. You should always use a blank drive or one that contains data you have already backed up elsewhere.
What size USB do I need for a Windows recovery drive?
For Windows 10, a 16GB drive is generally sufficient. However, for Windows 11, the system often requires more space due to larger system files and drivers. It is best practice to use a 32GB USB flash drive to ensure the utility has enough room to include the full system backup files.
Is a recovery drive the same as a system repair disc?
They serve similar purposes, but they are not the same. A system repair disc is typically a CD or DVD that contains repair tools but does not contain the system files needed to reinstall Windows. A recovery drive is USB-based and, if you select the option to back up system files, it can perform a complete OS reinstallation.
Can I use a Windows recovery drive on another computer?
Generally, no. A recovery drive is tailored to the specific architecture and driver requirements of the PC it was created on. While the basic repair tools might work on a similar machine, using a recovery drive from a different model or brand to reinstall Windows can lead to driver conflicts and system instability.
How do I boot my computer from a recovery USB?
To boot from the USB, you must restart your computer and enter the BIOS or UEFI menu by pressing a key like F2, F12, or Delete during the initial splash screen. From there, navigate to the boot priority or boot sequence settings and move the USB flash drive to the top of the list, then save and restart.