Quick Facts
- Common Failure Rate: Research shows that between 40% and 50% of home theater owners misplace their rear speakers.
- HDMI Bandwidth: Ultra High Speed HDMI cables rated for 48Gbps are essential for localizing spatial audio.
- Signal Distance: Always switch to fiber optic HDMI or baluns for cable runs exceeding 25 feet.
- Speaker Consistency: Voice matching through consistent driver materials prevents disruptive shifts in the soundstage.
- Acoustic Offset: Positioning front speakers at least 2 feet from walls reduces muddy bass and acoustic interference.
- Calibration Gap: While 97% of viewers prioritize dialogue, only 20% utilize their system's built-in calibration tools.
Mastering a surround sound setup involves far more than simply plugging cables into an AV Receiver and hoping for the best. The most common surround sound setup mistakes to avoid include using mismatched speaker brands that break voice matching, placing satellite speakers at incorrect heights, and relying on low-bandwidth cables that cause signal degradation. By aligning your speakers to specific angles and performing a digital room calibration, you can transform a disjointed audio experience into a seamless, cinematic soundstage.
Stop These Common Surround Sound Setup Mistakes
I have walked into countless living rooms where the owner has spent thousands on a flagship AV Receiver only to pair it with a mismatched hodgepodge of speakers. One of the most significant errors in any surround sound setup is the lack of voice matching. When the panning audio moves from a high-quality left speaker to a budget center channel, the timbre of a character’s voice or the roar of an engine changes mid-screen. This ruins the immersion. To maintain a cohesive soundstage, you should ideally use speakers from the same manufacturer and series, ensuring the tweeter and driver materials are identical.
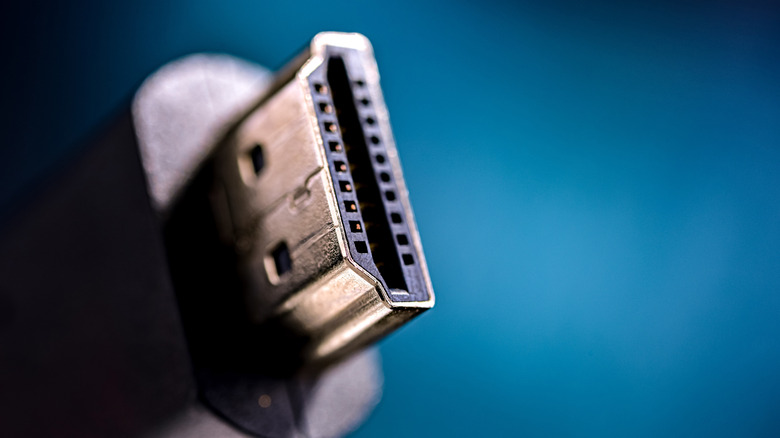
Another invisible killer of high-end audio is signal degradation caused by poor cabling. I often see enthusiasts try to run a standard copper HDMI cable through a wall over a distance of 30 feet. This represents a major violation of the 25-foot rule. Beyond this length, traditional copper cables struggle to maintain the 48Gbps bandwidth required for uncompressed Dolby Atmos or DTS:X. The result isn't just a lower quality sound; it often manifests as sudden audio dropouts or a complete loss of the bitstream signal. If your room requires a long run, you must invest in fiber optic HDMI cables or HDMI-over-Ethernet baluns to ensure stability.
Perhaps the most frustrating trend I see in home audio is the neglect of digital calibration. According to a consumer behavior survey, while 97% of viewers consider dialogue clarity essential, only 20% of users actually utilize the audio-enhancing calibration tools built into their home entertainment systems. Most modern receivers come with a calibration microphone. Using it takes ten minutes, yet it is the single most effective way to correct for poor room acoustics.
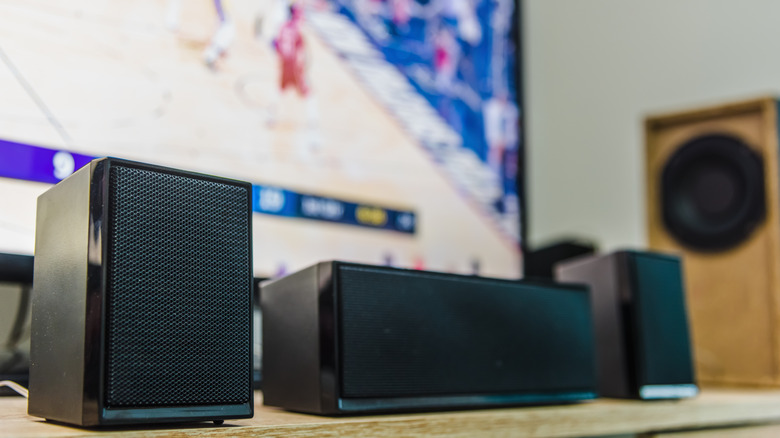
Finally, check your receiver settings for the Multi-Ch Stereo trap. Many users accidentally leave their systems in this mode, which simply doubles the front stereo signal to the rear speakers. This is not true surround sound. For a proper dolby surround sound setup, your receiver should display the specific format it is decoding, such as Atmos or TrueHD, to ensure the spatial metadata is being used correctly.
The Technical Blueprint: 5.1 vs. 7.1 Layouts
Geometry is the foundation of a great listening experience. When you Step into the world of multi-channel audio, you are essentially trying to recreate a sphere of sound around the sweet spot. However, between 40% and 50% of home theater owners fail to properly set up their rear surround speakers, often placing them directly behind the head or too high on the wall due to aesthetic concerns.
For a standard 5.1 surround sound setup diagram, your front left and right speakers should form an equilateral triangle with the listener, angled at 30 degrees. The center channel must be placed directly above or below the screen, ideally at ear level. The most common mistake occurs with the surround speakers. These should not be behind you in a 5.1 system; they should be placed at 90 to 110 degrees to the left and right of the listening position and mounted 2 to 3 feet above ear level to create a sense of atmospheric depth.
If you are expanding to a 7.1 surround sound setup diagram, you add two back speakers to the mix. These rear speakers should be positioned at 135 to 150 degrees and kept at ear level to help differentiate them from any overhead or ceiling-mounted Atmos speakers. This layout fills the acoustic gap behind the listener, providing a more convincing sense of movement for rear-panning effects.
Regardless of your speaker count, room acoustics play a massive role. Audio consultants often recommend placing front speakers at least 2 feet away from walls to prevent acoustic interference. When speakers are shoved into corners or pressed against the drywall, the bass frequencies reflect and become boomy, masking the fine details in the mid-range and treble. Choosing high speed hdmi cables for surround sound ensures that the high-resolution data reaches the receiver, but proper physical placement ensures it reaches your ears clearly.
Advanced Calibration: Fixing Dialogue and Bass
Once the physical installation is complete, the next phase is audio tuning. The most frequent complaint I hear from readers is muffled voices. If you find yourself constantly turning the volume up during dialogue and down during explosions, you have a center channel issue. You can often solve this by manually increasing the center channel level by 2-3dB in your receiver’s settings after the auto-calibration is finished. This simple tweak is a cornerstone of fixing center channel dialogue clarity without affecting the overall dynamics of the movie.
Bass management is the other pillar of a high-performing system. Most people place their subwoofer where it looks best, not where it sounds best. To find the optimal spot, use the Subwoofer Crawl technique: place the subwoofer in your primary listening chair, play a bass-heavy track, and crawl around the room at floor level. The spot where the bass sounds the tightest and most impactful is where the subwoofer should live.
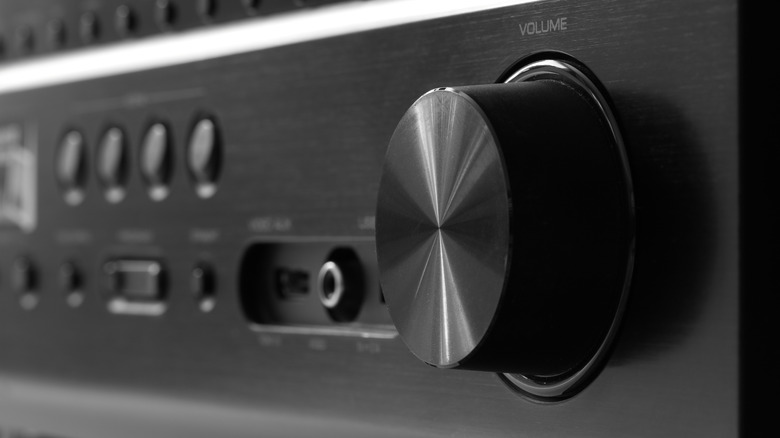
When you calibrate your system, pay attention to the crossover frequency. A common rule of thumb is to set all satellite speakers to Small in the receiver menu, even if they look large, and set the crossover to 80Hz. This sends all frequencies below 80Hz to the subwoofer, which is purpose-built to handle them, leaving your main speakers to focus on the mid and high frequencies. This leads to a much cleaner, more powerful overall sound.
Knowing how to calibrate surround sound speaker levels manually can also help you compensate for asymmetrical rooms. If one side of your room has a large window and the other has a bookshelf, the sound will reflect differently. Adjusting the individual speaker levels and distances in the receiver menu ensures that the sound from every speaker arrives at the sweet spot at the exact same time and volume.
FAQ
What is the best way to set up surround sound?
The best way to set up surround sound is to start with a systematic speaker placement following the 30-degree front and 90-110-degree surround angle rules. Ensure you are using voice-matched speakers and high-quality cables capable of handling modern high-bandwidth formats. Once physically installed, always run a digital room calibration using the software built into your AV Receiver to account for your room's unique acoustics.
What are some common home theater mistakes?
Common mistakes include mixing different speaker brands, which leads to an inconsistent soundstage, and placing surround speakers in the back corners of the room rather than at the sides. Additionally, many users fail to move their front speakers away from walls, resulting in muddy bass. Using outdated HDMI cables that cannot support the 48Gbps required for Dolby Atmos is another frequent error that leads to signal dropouts.
Where should you not put speakers?
You should not put speakers inside enclosed cabinets or flush against room corners, as this creates unwanted resonance and boomy bass. Avoid placing the center channel on the floor or too far away from the screen, which disconnects the audio from the visual. Surround speakers should never be placed directly behind the listener in a 5.1 setup; they belong at the sides to provide the correct spatial cues.
How high is too high for surround speakers?
Surround speakers should generally be placed no more than 2 to 3 feet above ear level. If they are placed too high, such as near the ceiling, the sound becomes disconnected from the action on the screen and can be confused with ceiling-mounted height channels used in Dolby Atmos systems. The goal is to create a sense of envelopment without making the sound feel like it is coming from the attic.
Making the Final Connection
After you have addressed the physical placement and digital calibration, the final step is a verification test. I recommend using a reference track, such as the opening scene of Mad Max: Fury Road or the Rainstorm sequence from a Dolby Atmos demo disc. Listen closely for the transition of sound from the front to the back. It should feel like a continuous wave, not a series of individual speakers turning on and off.
If the soundstage feels thin, double-check your speaker phase. If you accidentally reversed the positive and negative wires on a single speaker, it will cancel out the bass frequencies of its neighbor, leading to a hollow sound. Take the time to audit your connections, rely on quality hardware, and don't be afraid to experiment with slight adjustments to the speaker angles. A perfectly tuned surround sound setup is the difference between watching a movie and living inside of it.